If you’re a surfing newbie– or grom– the thought of how to catch a wave surfing may feel overwhelming. With some practice and understanding the basic elements of surfing, you’ll be riding the rails in no time.
In this article, we will be looking at some simple steps to catch waves and surf unbroken waves or green waves.
Start with the Basics of Surfing

To start surfing, you will need to catch a wave. To catch the wave, you need to paddle, and to paddle successfully, you need the perfect board, the right paddling position and technique, be able to pop up like a pro, and have the right stance and balance on your surfboard. Sounds easy… right?
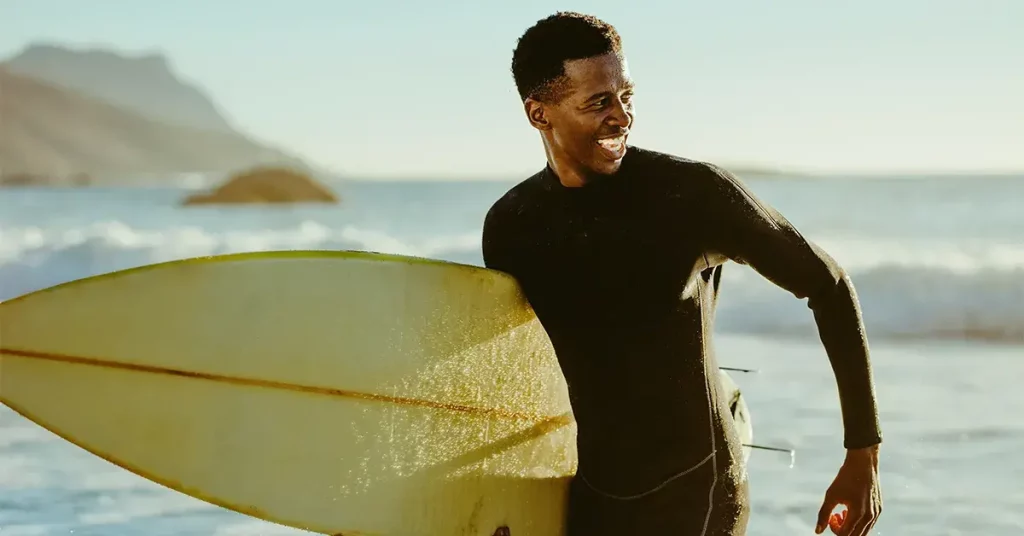
Find the right surfboard
Remember that the selection of the right surfboard is important. Since catching a wave requires stability, a long board may be the way to go. If you’re already a pretty fit grom with good stability, you could choose a shorter board. You can also check out this guide to choosing the right surfboard.
Practice the “pop-up”
Your first surfing lesson can actually happen on the sand. This helps you as a grom practice the right way of lying flat on the surfboard, paddle, turn and stand upright. When you’re on the water, we call this “popping up.”
How to practice pop-ups on your surfboard on the sand:
- Place your chest on the centerline (sweet spot) of the surfboard, both your arms to your side about chest level, and your toes should be pointing toward the surfboard’s tail. Lean your body down the board but keep your head up, giving you a perfectly centered position.
- Firmly place your hands on the board beside your pectorals just as the push-ups position.
- Quickly swing the upper part of your body high– your goal is to push yourself up (or “pop up”) so that you are standing in a low squat on the board’s deck. You want to do this quickly. When you’re on the water, you need to be fast to pop up quick enough to catch the wave.
- Once up, make sure your feet are shoulder-width apart, still keeping your knees bent in squat.
- Now, begin to lean forward, keep your squat, and balance both hands by your sides at ribs and hips level to maintain a good balance and lower your center of gravity.
Prep for Paddling
Once you’re on your stomach on your surfboard, you’ll need to paddle past the breaks to make it out to calmer waters to wait for those waves.
In fact, the most tiring part of surfing is the paddling. You’ll need to get your shoulders ready for all that work against the waves. You can do exercises at the gym or even at home.
- Arm Circles
- Overhead arm stretches
- Push ups
Basically any activity that strengthens your shoulders, biceps and triceps will help you immensely when out on the water. Your arms will likely be the first part of your body to tire out when on the water. The waves are stronger than they look from the shore.
Watch and Learn the Waves

Don’t rush yet into the wave straight ahead. Use a few minutes in reading waves, how the wave starts, where the wave reaches and select out the best waves and try to get a pattern. You will notice that the waves generally arrive in sets of three to four waves with breaks in between. Make sure to spot the point where the waves are breaking.
You’re a grom– It’s ok to act like one!
You can easily learn from more experienced surfers by observing how they set up and catch new waves, paddle and surf the waves. You could easily walk to them and ask them for tips, making you a better surfer. But, what you don’t want to do is act like a kook. native surfers won’t tolerate much if you blatantly disrespect the surf.
Find the right wave
A formed wave usually has four levels; for the first waveform, the wave begins by forming a lump that is not catchable as it is only an indication that a wave is about to be formed.
The second waveform is usually known as the green wave (unbroken waves); this wave is not advisable for beginner surfers on the first surfing lesson as this wave needs a lot of practice and experience, which might end up in nose diving for the newbies.
The unbroken waves grow to a lip which is vertical and ends with the wave breaking on flat water; it is very hard to catch even for experienced surfers. When the lip wave breaks, it forms whitewater waves that lose speed and momentum. This wave moves to the shores as a whitewash.
Ready? It’s Time to Surf!

It is finally time to get the real experience.
Before you head out:
- Make sure you’ve applied the right surf wax to your board deck.
- Check your leash to make sure the velcro is intact.
- If you’re wearing a wetsuit, make sure it’s zipped up all the way.
- Apply some reef-safe sunscreen to any exposed parts of your body. Be careful around your eyes– the water will make some of the sunscreen run and it will easily get into your eyes and burn, making it hard to see.
- If you’re a female, you’ll want to twist your hair up into a bun or put it in a ponytail.
- If you’re solo, make sure your car key is secured on you or in a pocket somewhere.
How to catch a wave surfing:
- Attach your leash to your ankle. Make sure it’s secure.
- Grab your board and carry it under your arm. Walk slowly into the water– it’s not always soft sand. Sometimes, you’ll find slippery or rough rocks. You don’t want to cut your feet.
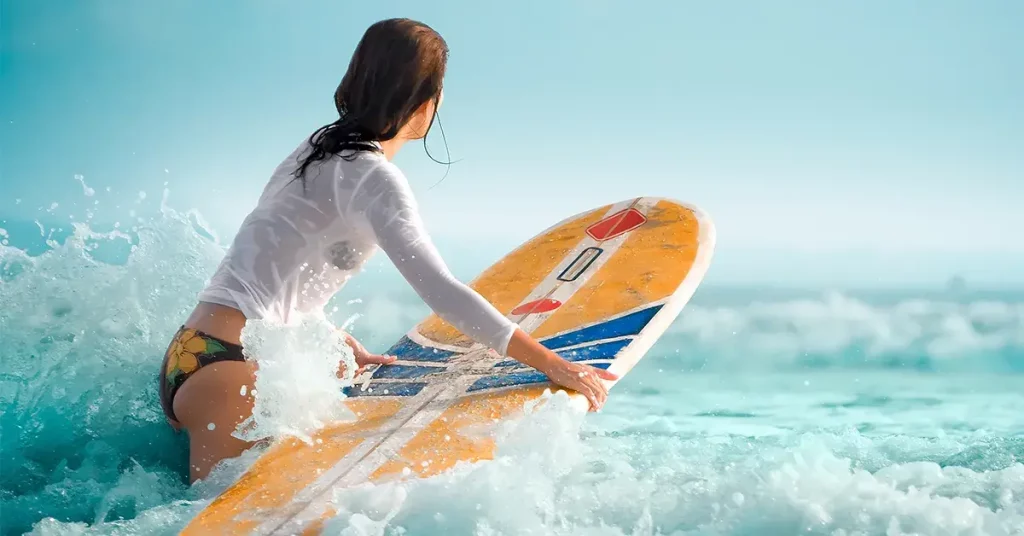
- Once in the water, place your board on the water and lay down on your belly on the board.
- Paddle, paddle, paddle! You need to paddle past the break to the calmer waters. Use deep, intentional strokes.
- Once out on the water, you can manuver yourself so that you sit on your board with your legs dangling into the water. This is when you can enjoy the beauty of the ocean while waiting for that perfect wave.
- When you see the wave coming that you want to surf, paddle to turn your board around so that you are facing the shore.
- Once in position, lay back down on your belly and get ready for that pop up!
- Right before that wave hits you, pop up!
- Maintain your balance on your surfboard in your squat position as the wave carries you toward the shore.
Surfing Next Steps
At this level, you have mastered paddling, how to catch your first wave, and of course, how to stand on a surf board. As for the waves, riding an unbroken wave should be your priority.
Going for a whitewater wave should be the best option as it pushes you straight to the shore. While paddling, keep a slight angle from your board to either the left or the right and keep paddling perpendicular to the beach. Generally known as riding down the line, the waves are breaking, making it the longest wave with the highest speed.
Conclusion
It’s important to remember that for groms who want to catch a wave surfing, it is going to take practice, time and patience.
You’re going to get tossed around, caught under a wave, fall of your board, get bumps and bruises and exhausted from the paddling, the excitement and lots of sun. But, there is nothing like the thrill of being out there on the water, the vibes the surf community gives off and the feeling of waiting for that perfect wave.